Connect your Cloudflare account
Create and add a scoped API token.
Ampliflare works through a Cloudflare API token that you create and you can revoke at any time. You decide exactly what it can touch: grant only the features you plan to use, and nothing else.
There’s no login handoff and no access to your Cloudflare password. A scoped token is the only thing Ampliflare ever uses — and it only does the things you’ve scoped it for.
Create your token
- In the Cloudflare dashboard, go to My Profile → API Tokens and choose Create Custom Token.
- Add the permissions for the features you want — see the table below.
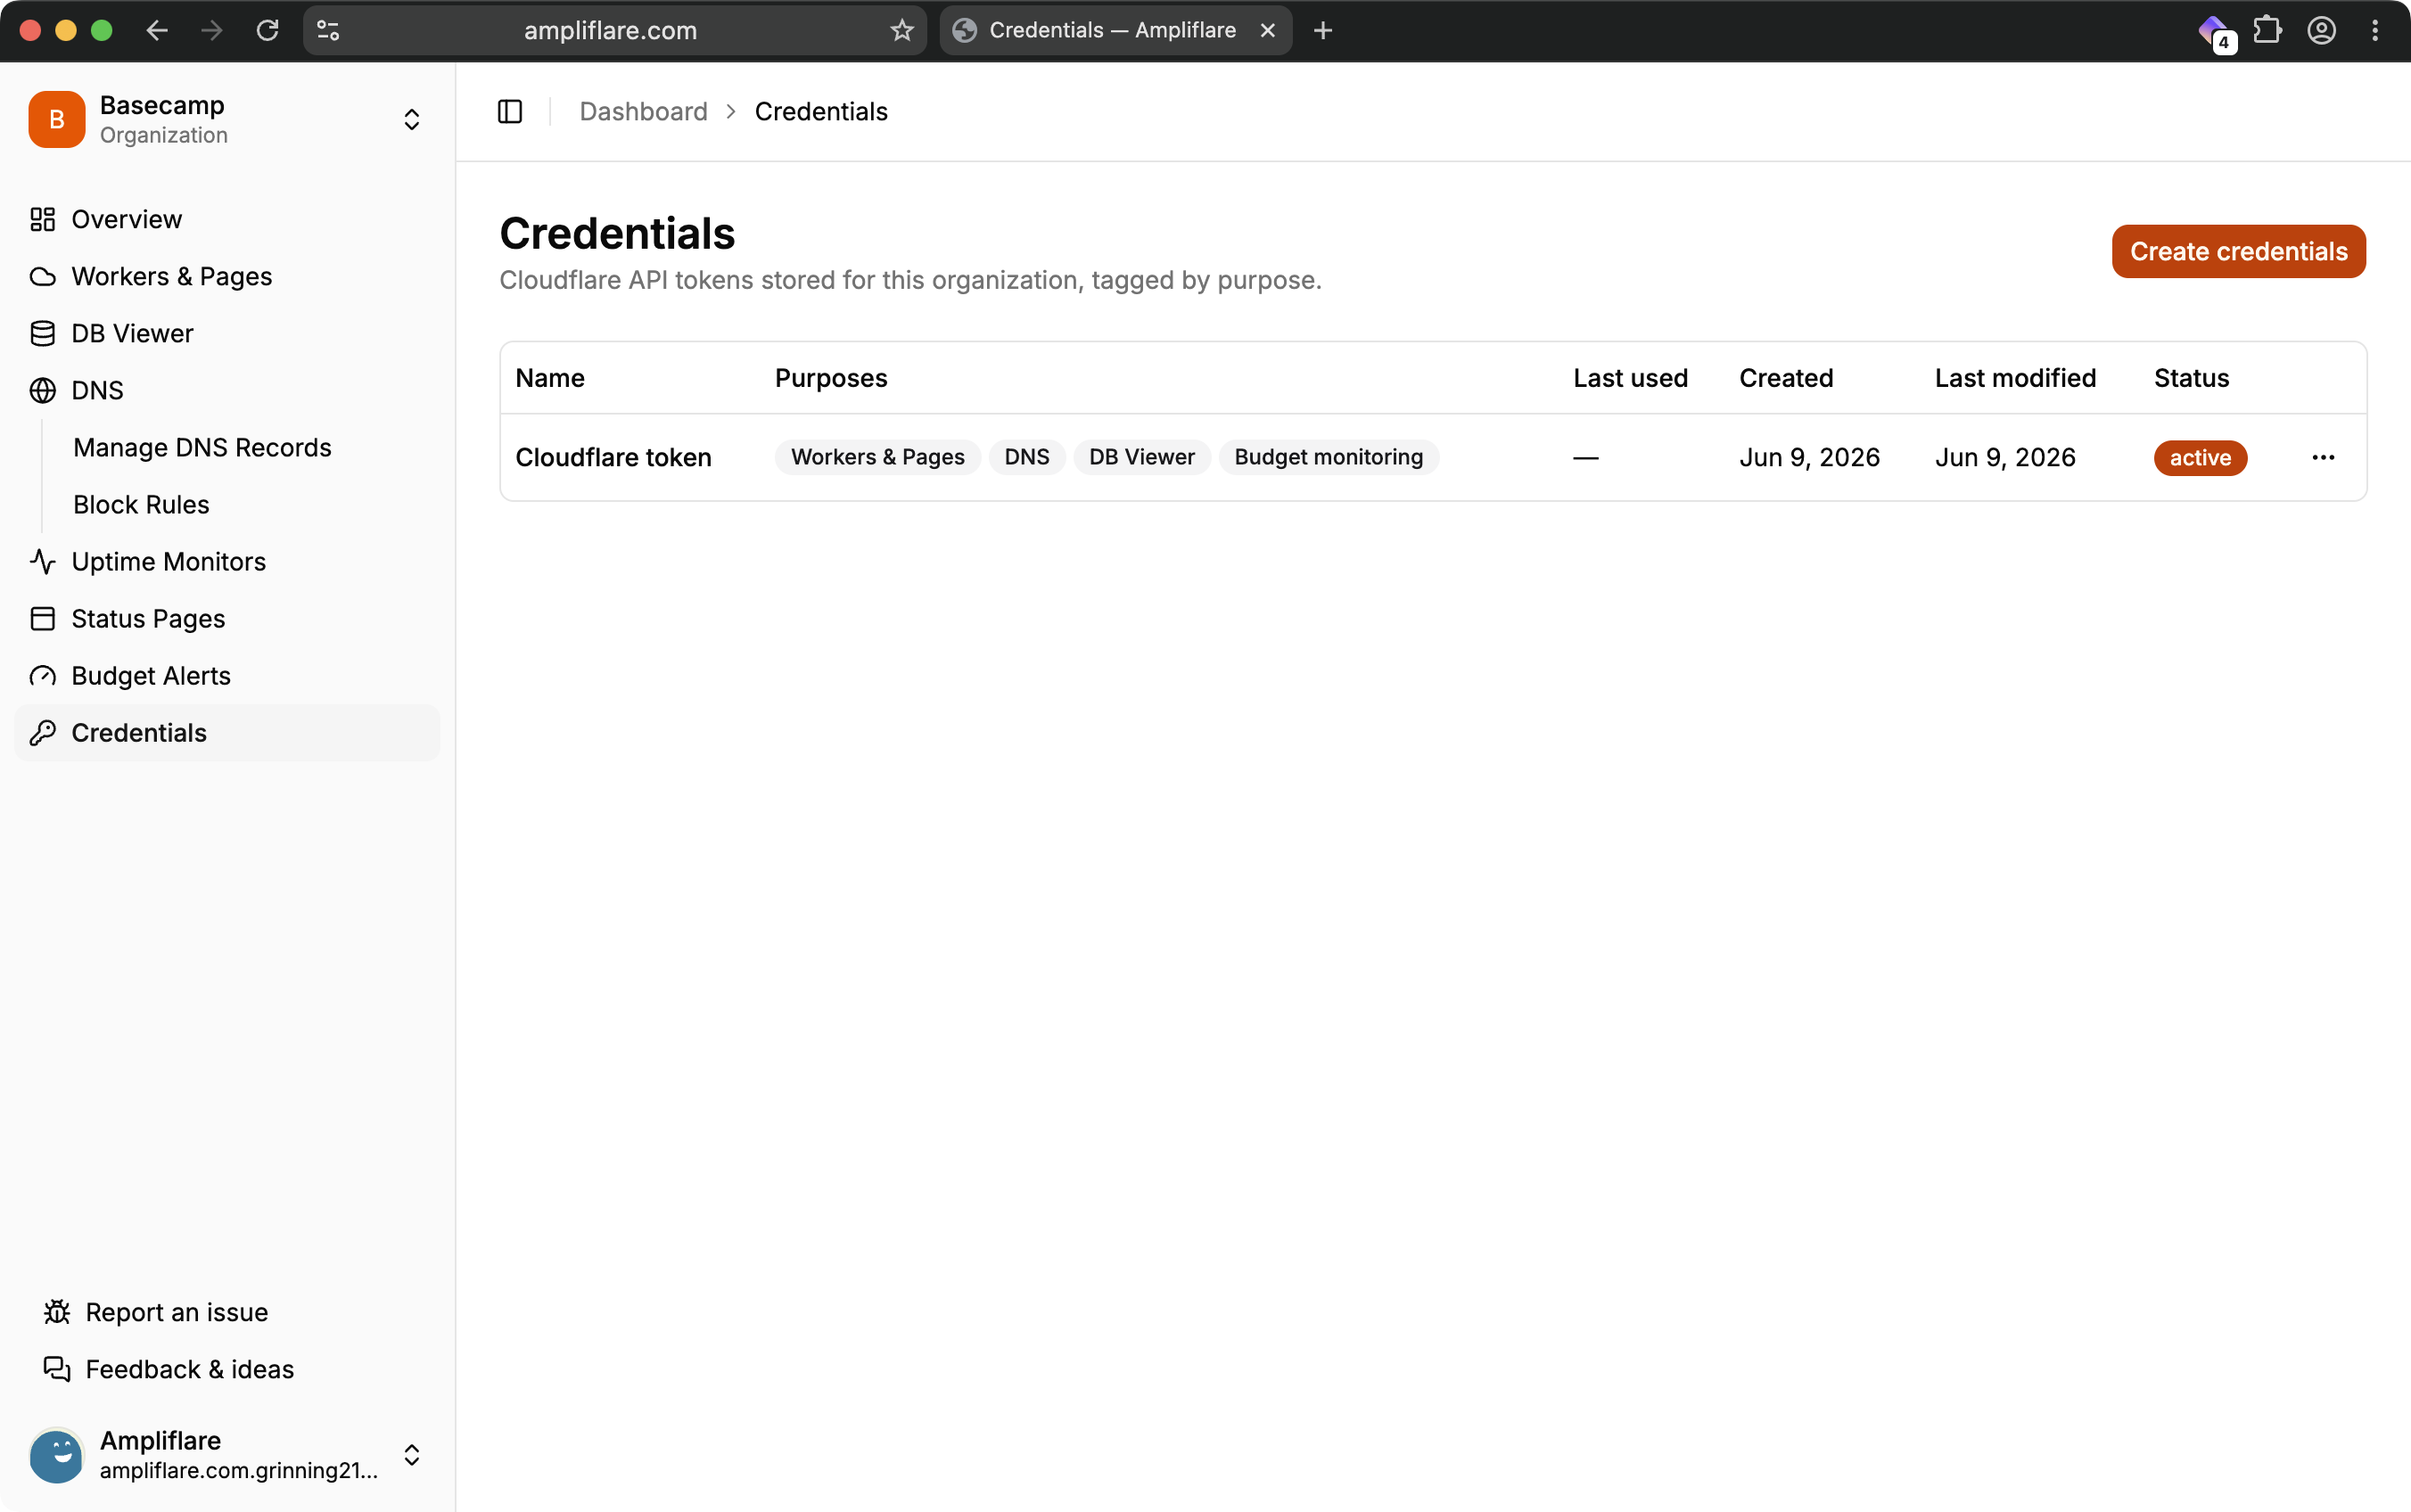
- Create the token, copy it once, and paste it into Ampliflare under Credentials.
Cloudflare’s Create API token guide walks through the same screens with screenshots.
Permissions by feature
Add only the permissions for the features you’ll use. Each one is written exactly as it appears in Cloudflare’s token builder — Group → Permission → Level — so you can find it on the screen. Grant a permission and its feature lights up.

| Feature | Permission | Level |
|---|---|---|
| Zones (every feature) | DNS & Zone → Zone → Read | Zone |
| DNS management | DNS & Zone → DNS → Edit | Zone |
| Block rules (needs both) | Rules & Configuration → Account Rule List → Edit | Account |
| Block rules (needs both) | App Security → Account WAF → Edit | Account |
| Deployment cleanup — Workers | Developer Platform → Workers Scripts → Edit | Account |
| Deployment cleanup — Pages | Developer Platform → Pages → Edit | Account |
| Database viewer (D1) | Developer Platform → D1 → Read | Account |
| Budget alerts | Analytics & Logs → Account Analytics → Read | Account |
| Budget alerts | Analytics & Billing → Billing → Read | Account |
| Database backups to R2 (soon) | Developer Platform → Workers R2 Storage → Edit | Account |
Block rules and budget alerts each need both of their rows. A good starting point is DNS & Zone → Zone → Read plus DNS & Zone → DNS → Edit — enough for DNS basics. Switch on the rest as you adopt more features.
R2 backups are landing in the coming weeks; you can add the R2 permission now or wait until the feature ships.
A few things worth knowing
- Uptime monitors and status pages need no extra permissions. Monitoring runs on Ampliflare’s own infrastructure, and status-page custom domains are provisioned on our side — your token isn’t used for either.
- The database viewer is read-only. It needs only D1 Read and only ever runs
SELECTqueries — it cannot change or delete your data. - You can scope to specific zones. In the token builder, limit the Zone permissions to one or two domains instead of all of them if you prefer.
- One token or several. Use a single broad token, or add a separate scoped token per feature under Credentials — whichever suits you.
How your token is stored
Your token is encrypted at rest and only used for the operations you’ve enabled. It’s never sold or shared, and you can revoke it any time from the Cloudflare dashboard — Ampliflare loses access the moment you do.